
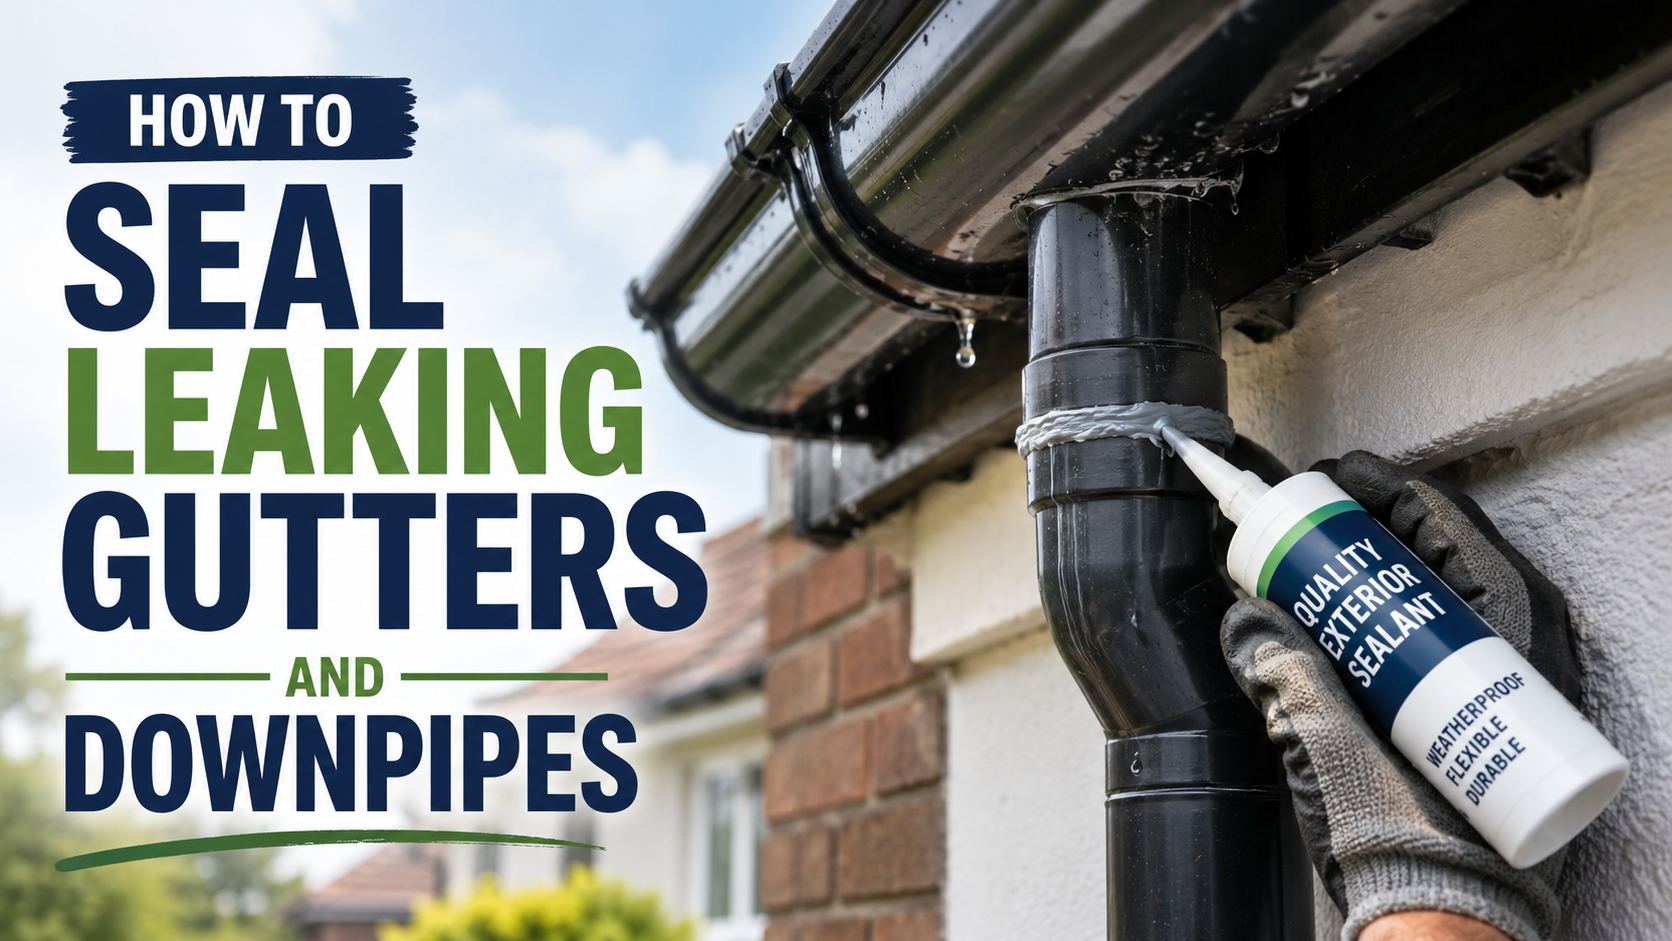
How to Seal Leaking Gutters and Downpipes (UK Guide)
You only really notice a leaking gutter when it’s raining — a steady drip down the wall, a splash by the back door, or a green streak of algae running down the brickwork. Left alone, it’s more than a nuisance: water running down a wall causes damp inside, rots fascias and soffits, stains render and can eventually undermine the foundations near the downpipe. It’s one of the most common home maintenance jobs in Britain, and one of the easiest to put right yourself.
Better still, summer is exactly the right time to do it. Gutter sealing needs a clean, dry surface and a bit of warmth for the adhesive to bond, so a settled dry spell now saves you standing on a ladder in a downpour come November. This guide covers finding the leak, sealing joints and splits with butyl flashing tape, and knowing when a repair simply isn’t the answer.
Why gutters and downpipes leak
Guttering fails at a small number of predictable places:
- Joints and unions. By far the most common. On uPVC guttering the rubber gasket inside each union hardens, shrinks or slips over time and the joint starts weeping.
- Corners and outlets. Same problem, extra water — every corner and downpipe outlet is a joint under load.
- Cracks and splits. Sunlight makes uPVC brittle over the years, and frozen water in winter expands and splits it. Cast iron rusts through from the inside.
- Downpipe joints and hoppers. Sections work loose or get knocked, and hopper heads crack at the corners.
- Sagging and poor falls. If a bracket has failed, water pools instead of running to the outlet, then spills over the front edge.
- Blockages. Leaves, moss and silt — the cause of an enormous number of “leaks” that are really overflows.
That last one matters: before you seal anything, make sure you’re fixing a leak and not a blockage.
Step one: find the actual fault
Do this on a dry day so you can see clearly.
- Clear the gutter first. Scoop out leaves, moss and silt, then flush the whole run through with a hose or a bucket of water.
- Watch where the water goes. Run water in at the far end and follow it along. Watch each joint, each corner and the outlet for dripping.
- Check the falls. If water sits in a puddle rather than running away, the gutter is sagging — that’s a bracket problem, not a sealing problem.
- Inspect the downpipe. Look for splits, loose joints, and staining on the wall behind, which shows where water has been escaping.
- Look at the back edge. Water running behind the gutter usually means a failed fascia joint or the gutter has pulled away from its brackets.
A word on ladders. Most gutter work is straightforward, but falls from ladders are the most common serious DIY injury in the UK. Use a stable ladder on firm level ground, have someone foot it, never overreach — move the ladder instead — and don’t attempt gutter work in wind or wet. For anything above single-storey, or if you’re not confident, hire a professional or use a tower.
Why butyl flashing tape suits gutter repairs
Butyl rubber is ideal for guttering because it stays permanently flexible — important on a component that expands, contracts and moves with the weather — and it’s completely waterproof. PSA Solutions’ butyl flashing tape is explicitly made for this kind of work, including flashing and repairing gutters and downpipes. It’s a 1.5mm butyl compound on a puncture-resistant laminated foil backing, works across a −40°C to +90°C range, and conforms readily around a curved gutter profile or a round downpipe.
Compared with a smeared-on sealant it’s clean, immediate and inspectable: peel, position, press, done — no curing time to wait out, no mess running down the wall, and you can see at a glance whether the seal is still sound next time you’re up there.
What it will and won’t do
Being straight about this saves a wasted afternoon:
- It works well on: leaking joints and unions, hairline cracks and splits, downpipe joints, hopper corners, and sealing around outlets — on uPVC, metal and cast iron guttering.
- It won’t bond over silicone. If someone has already smeared silicone on the joint, every trace has to come off first or the tape simply won’t stick.
- It won’t fix a sagging gutter or a wrong fall. That’s a bracket job — re-fix or replace the brackets so the run drains properly.
- It won’t rescue guttering that’s failed everywhere. If a uPVC run has gone brittle and is cracking in multiple places, or cast iron has rusted through, replacement is the honest answer.
- It needs a dry, clean surface. No bonding to wet, mossy or greasy plastic.
What you’ll need
- Butyl flashing tape in a suitable width (see below)
- Gloves, a stiff brush and a scraper
- IPA cleaning wipes or a surface cleaner to degrease
- Fine abrasive paper (to key smooth uPVC and remove rust from cast iron)
- A seam roller or any smooth tool for firm pressure
- Scissors, and a stable ladder
Choosing a width
PSA’s butyl flashing tape comes in 100mm, 150mm and 200mm widths on 10m and 20m rolls:
- Joints, unions, downpipe seams and small splits: 100mm × 20m is the natural choice — wide enough to overlap the joint well, and easy to wrap around a downpipe.
- Longer splits, hoppers and awkward corners: 150mm × 10m or 150mm × 20m.
- Larger commercial or box guttering: 200mm × 10m or 200mm × 20m.
You can always trim a wider tape down, so if you’re between sizes, go wider.
How to seal a leaking gutter joint
- Choose your day. Dry, mild and settled — ideally 10°C or above, with the gutter completely dry and no rain forecast for the rest of the day.
- Clean thoroughly. Clear out debris, scrub away moss and algae, and scrape off any old failed sealant or silicone. Let it dry fully.
- Key and degrease. Rub the area lightly with fine abrasive paper — smooth uPVC benefits from a light key, and cast iron needs any loose rust taken back to sound metal. Then wipe with IPA and let it flash off. This step is the single biggest factor in how long the repair lasts.
- Cut your piece. Cut the tape long enough to extend well past the joint on both sides, and round off the corners with scissors — square corners are the first thing to lift.
- Apply from inside the gutter. Seal from the water side wherever you can reach: press the tape down into the base of the gutter, over the joint, and up both side walls so it forms a continuous waterproof channel across the union. Don’t stretch it as you lay it.
- Press it home hard. Butyl is pressure-activated — the harder you press, the better the bond. Work along the whole piece with the roller or your thumb, pushing out every air bubble, then go around the edges again and make sure it’s conformed tightly into the internal corners of the profile.
- Test it. Run water down the gutter and check underneath before you come down.
Sealing a downpipe or a split
For a leaking downpipe joint, clean and degrease as above, then wrap the tape right around the pipe so it overlaps itself by at least 25mm, covering the joint completely. Work from the bottom of the joint upwards where you can, so the upper section laps over the lower and water runs over the seam rather than into it. Press firmly all the way round.
For a crack or split, clean and key well beyond the damage, then apply a piece of tape long enough to extend at least 50mm past each end of the split, centred over it. Roll it down hard. For a badly cracked hopper or a hole rather than a hairline split, you may get a better result filling it first with an epoxy putty stick — the Aqua underwater stick is designed for exactly this kind of damp gutter and tank repair — then taping over the top once cured.
Preventing the next leak
- Clear gutters twice a year, in late autumn once the leaves are down and again in spring. Most gutter “leaks” are actually overflows from blockages.
- Fit gutter guards if you’re under trees.
- Check the brackets while you’re up there — a sagging run causes standing water and premature joint failure.
- Inspect joints each spring, and reseal anything weeping before winter arrives.
- Keep an eye on the wall below. Green algae streaks or damp patches are the earliest warning that something above is leaking.
Frequently asked questions
What’s the best way to seal a leaking gutter joint? Clean and degrease the joint thoroughly, then seal it from inside the gutter with butyl flashing tape pressed firmly across the base and up both sides of the union. On uPVC, check whether the union’s rubber gasket has simply perished — replacing it is sometimes the neater fix.
Can you seal a gutter in the rain? No. The surface must be clean and dry for the adhesive to bond, ideally at 10°C or above. Wait for a dry spell — this is the main reason to tackle gutter repairs in summer rather than mid-winter.
Will butyl tape stick to uPVC guttering? Yes, very well, provided the plastic is clean, dry and degreased. A light key with fine abrasive paper improves the bond further. It won’t stick over old silicone, which must be removed completely first.
Can I repair cast iron guttering with it? Yes — take any loose rust back to sound metal first, degrease, and press the tape down firmly. For rusted-through sections, patch the hole with epoxy putty before taping, or replace the section if the iron has gone.
How long will the repair last? With proper cleaning, keying and firm pressure, expect years of service. Check it as part of your seasonal gutter clear-out.
Should I repair or replace my guttering? Repair isolated faults — a weeping joint, a hairline crack, a loose downpipe. Replace when a uPVC run has gone brittle and is splitting in several places, when cast iron has rusted through, or when brackets and falls are so far gone that water no longer drains properly.



Add comment