
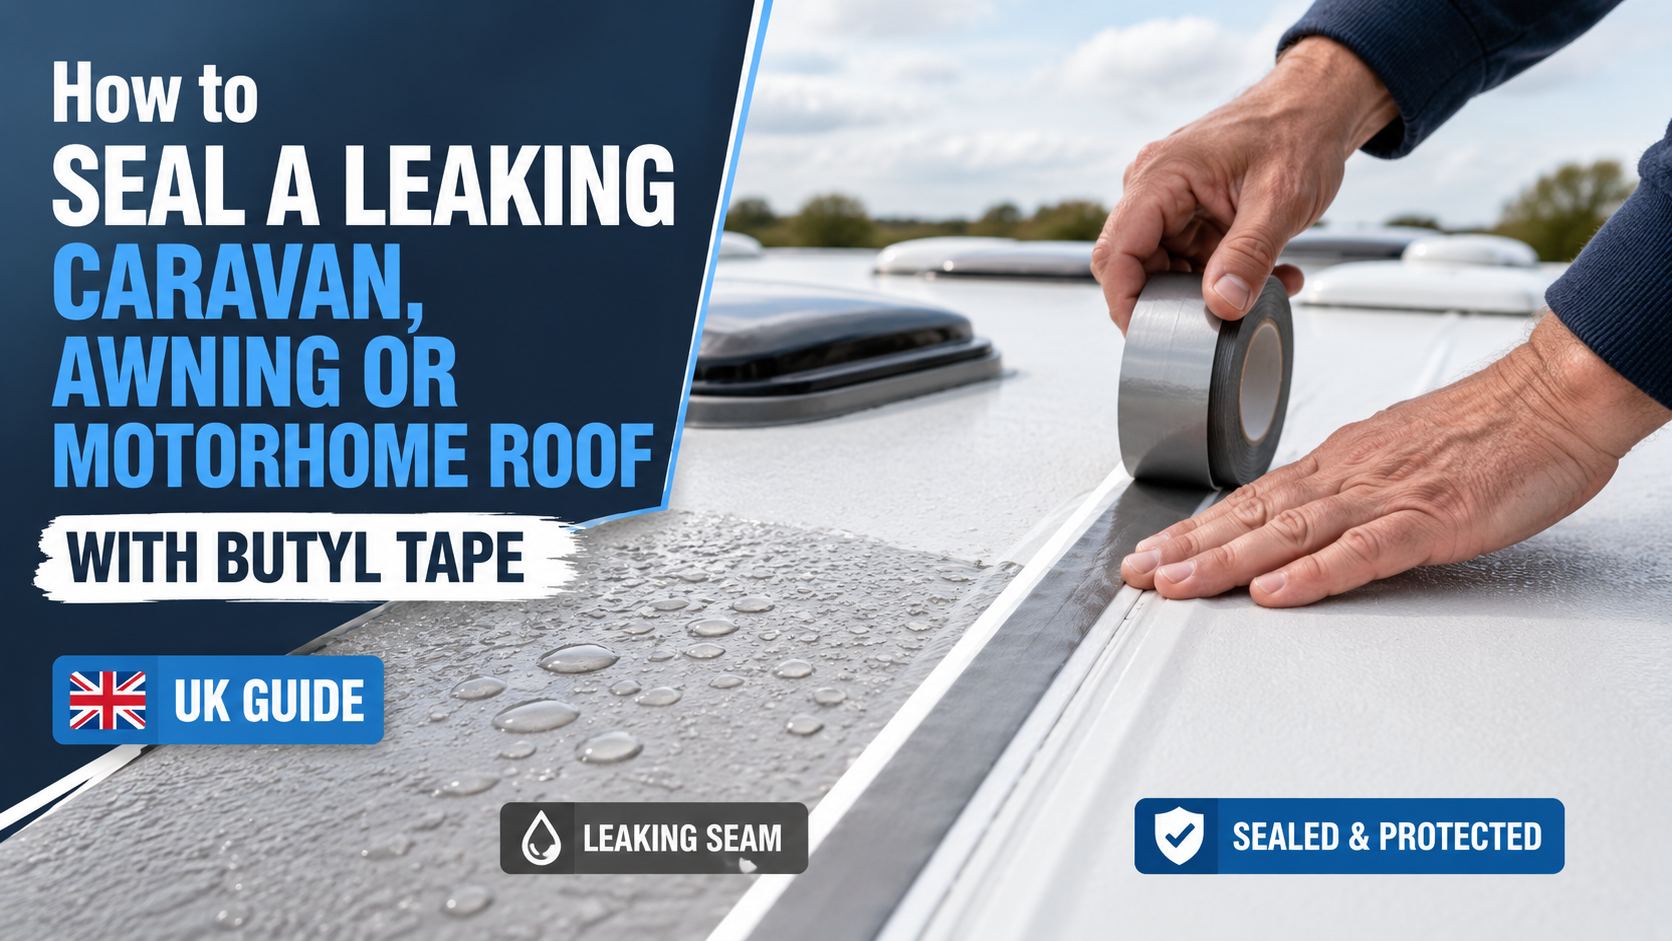
How to Seal a Leaking Caravan, Awning or Motorhome Roof with Butyl Tape (UK Guide)
There are few worse feelings for a caravan owner than spotting a brown tea-coloured stain spreading across the ceiling, or catching that tell-tale musty, damp smell when you open up for the first trip of the season. Water ingress is the single biggest enemy of any caravan or motorhome — left unchecked it rots the timber frame, delaminates the walls and wipes thousands off the resale value. The good news is that the vast majority of leaks start at a tired seam, rail or rooflight seal, and you can stop them yourself in an afternoon with a roll of quality butyl flashing tape.
This guide walks you through finding the leak first, then sealing it properly with butyl tape — including the prep steps that separate a repair that lasts years from one that fails by the next downpour.
Why caravans and motorhomes spring leaks
A caravan body is a patchwork of aluminium panels, plastic mouldings, rooflights, vents and trims, all joined with sealant and held together with screws or rivets. Every one of those joints is a potential weak point, and several things conspire against them:
- Constant flexing. Towing down a motorway and over speed bumps flexes the whole structure, slowly working old, hardened sealant loose.
- UV and weather. Years of British rain, frost and summer sun dry out and crack the original mastic, especially along the roof.
- Ageing seals. Most caravans start letting water in around the 8–10 year mark as the factory sealant reaches the end of its life.
The crucial thing to understand is that water rarely enters where the stain appears inside. It gets in at a high point — typically a roof seam or rooflight — then tracks along battens and panels before dripping down somewhere completely different. That’s why you have to find the actual entry point before you reach for the tape.
Step one: find the leak (don’t seal blind)
Sealing the spot under the stain is the most common mistake people make. Trace the real source first:
- Do a water test. With the caravan level, have someone sit inside watching the damp area while you gently run water from a hose across the roof, starting low and working slowly upwards. The moment water appears inside, you’ve found the rough area — stop and inspect above it.
- Check the usual suspects. In order of likelihood: the wall-to-roof seam behind the awning rail, rooflights and skylights, roof vents (the mushroom-style ones), window surrounds, panel joints and T-bars, and any screw or fixing holes.
- Look for failed sealant. Cracked, shrunken, lifting or chalky mastic is your culprit. Press around fittings — any sponginess in the wall or roof means damp has already got in, so act quickly.
A cheap damp meter is a worthwhile buy if you tour regularly — it lets you map how far the damp has spread and confirm the repair has worked.
Why butyl tape is the right tool — and its limits
Butyl rubber is the long-standing favourite for caravan sealing because it stays permanently flexible, is completely waterproof, and bonds tenaciously to aluminium, fibreglass, plastic and painted panels. PSA Solutions’ butyl flashing and sealing tape uses a 1.5mm-thick butyl compound on a puncture-resistant laminated foil backing, stays flexible across a huge temperature range (−40°C to +90°C) and is conformable enough to fold into an upside-down “U” over an awning rail or roof edge. It’s relatively odour-free, self-adhesive, and — unlike a liquid sealant — you can inspect it at a glance and peel it off cleanly when it’s eventually time to redo the seal.
It’s worth being honest about one thing, because it’s where DIY repairs go wrong: butyl is a sealant, not a structural glue. It seals brilliantly under compression and as a surface-applied flashing over a joint, but it isn’t designed to hold heavy fittings on by itself or to bridge a large, moving structural crack. Rooflights, vents and rails stay held in place by their screws or rivets; the butyl’s job is to make that joint watertight. Two practical rules follow from this:
- It won’t stick to silicone. If a previous owner has smeared silicone over the joint, every trace of it has to come off first or the tape won’t bond.
- Don’t bridge a moving gap with it. For a flexing external joint or a bead that needs to move, a neutral-cure flexible sealant (such as a Sikaflex-type product) is the better choice. Butyl is for bedding and flashing rigid joints.
For the most common caravan leaks — roof seams, panel joints, rooflight and vent surrounds, T-bars and the wall-to-roof joint above the awning rail — surface-applied butyl flashing tape is exactly the right, accessible fix.
Which butyl tape and what width do you need?
PSA’s butyl flashing tape comes in 100mm, 150mm and 200mm widths, in 10-metre and 20-metre rolls. Choose a width that comfortably overlaps the joint with a good margin of clean panel on each side — the more contact area, the better the seal:
- Narrow seams, T-bars and trims: 100mm × 20m butyl flashing tape
- Awning-rail seams and rooflight surrounds: 150mm × 10m or 150mm × 20m
- Large panel joints and full-length roof seams: 200mm × 10m or 200mm × 20m
Measure the total run, then add around 10% for overlaps. You can always trim a wider tape down with scissors, so if in doubt, size up.
What you’ll need
- Butyl flashing tape in the right width (above)
- A plastic scraper (never metal — it’ll gouge the paint)
- White spirit, plus methylated spirit or IPA cleaning wipes for the final degrease, or a dedicated surface cleaner
- A seam roller or any smooth cylindrical tool to apply pressure
- Scissors or a sharp knife
- Disposable gloves
- A stable ladder and, ideally, a roof board to spread your weight
- New stainless-steel screws if you’re removing and refitting a rail
How to seal the leak with butyl tape, step by step
Work safely. Many caravan roofs are not walk-on — standing on one can crack the skin and create a far worse leak. Work from a ladder at the edge wherever possible, or kneel on a proper roof board to spread your weight. Choose a dry, mild day, ideally above 10°C, with the surface completely dry — adhesives need warmth to grab, and butyl will never bond to a damp panel.
- Strip the old sealant. Work all the cracked, lifting mastic (and any silicone) off the joint with the plastic scraper. Take your time and don’t gouge the surface.
- Clean and degrease. Wipe the area with white spirit to lift grime, then go over it again with methylated spirit or IPA wipes to remove every trace of grease and residue. Let it flash off fully. This single step makes the biggest difference to how long the seal lasts.
- Cut to length. Measure the seam and cut your tape, allowing about a 25mm (1 inch) overlap wherever two lengths meet. Snip the corners into a slight curve — square corners are the first thing to peel.
- Position without stretching. Peel back a little of the liner, line the tape up over the joint so it covers the seam with clean panel either side, and lay it down gradually as you remove the rest of the backing. Don’t stretch it — stretched butyl pulls back and creates weak spots.
- Press it home — hard. Butyl is pressure-activated: the harder you press, the stronger the bond. Work along the whole length with the roller, pushing out every air bubble and wrinkle, then go over the edges again. On an awning-rail or roof-edge seam, conform the tape down into the joint and over the lip.
- Reseal any fixings. If you’ve lifted a rail or fitting, seal the screw holes too and refit with new stainless screws through fresh tape.
- Re-test. Once it’s pressed down, run the hose over it again and check inside. Leave the repair to settle before the next trip so the bond reaches full strength.
The thorough, permanent fix: re-bedding the rail
If a leak keeps coming back along the awning rail or wall-to-roof joint, the proper long-term cure is to remove the rail entirely, strip out all the old bedding mastic, re-bed the rail on fresh butyl and refit it with new stainless-steel screws. It’s a fiddly, time-consuming job — the rail bends easily and must be handled carefully — and many owners hand it to a dealer or mobile caravan engineer. For most people, a cleanly applied butyl flashing tape over the seam is the practical first-line repair that stops the water and buys plenty of time.
Other leak points you can seal the same way
The same method works for most exterior caravan and motorhome leaks: rooflight and skylight surrounds, roof vents, window frames, panel joints, gutter rails, corner mouldings and T-bars. It’s also ideal for sealing leaking panels on motorhomes and other automotive and vehicle bodywork, and for joint and seam sealing more generally.
One thing it won’t fix is a leaking fabric awning canopy — for porous fabric seams you need a dedicated awning seam sealer, not a body tape.
Prevent the next leak
Damp is far cheaper to prevent than to repair. Get into a simple routine:
- Inspect every spring and autumn. Walk the roof seams, rails, rooflights and vents and re-seal anything cracked or lifting before the water gets in.
- Keep an eye on soft spots. Any sponginess is damp that’s already reached the structure — deal with it immediately.
- Store it covered where you can, and keep roof gutters and channels clear so water drains away rather than pooling on seams.
Frequently asked questions
Will butyl tape stop a caravan roof leak permanently? Applied to a properly cleaned, dry surface, a quality butyl flashing tape gives a long-lasting watertight seal. Inspect it once a year as part of your damp checks. If a leak keeps returning at the same rail, the permanent answer is to remove and re-bed that rail on fresh butyl.
Can I apply butyl tape over old silicone? No — butyl won’t bond to silicone. Every trace of old silicone must be scraped and cleaned off first, or the new seal will fail.
What temperature does it need to be applied in? Apply on a dry day, ideally 10°C or warmer, so the adhesive grabs well. Once it’s down, the tape stays flexible and watertight across a −40°C to +90°C range, so it copes with British winters and summers.
Can I use butyl tape on a rubber (EPDM) motorhome roof? Yes, for sealing seams, fittings and vent surrounds. For repairing a large tear in a rubber roof skin, a compatible flexible overband or sealant may be more suitable — always test adhesion on a small area first.
How wide should the butyl tape be? Pick a width that overlaps the joint generously with clean panel on each side. 100mm suits narrow seams and trims, 150mm is the sweet spot for awning rails and rooflights, and 200mm covers big panel joints.
Butyl tape or Sikaflex — which should I use? Butyl flashing tape is a non-setting, removable compression and flashing sealant — perfect for bedding and sealing rigid joints, rails and rooflights. A Sikaflex-type flexible sealant is better for a moving joint or an exposed bead that needs to stretch. Match the product to the job.
 2")
Add comment