
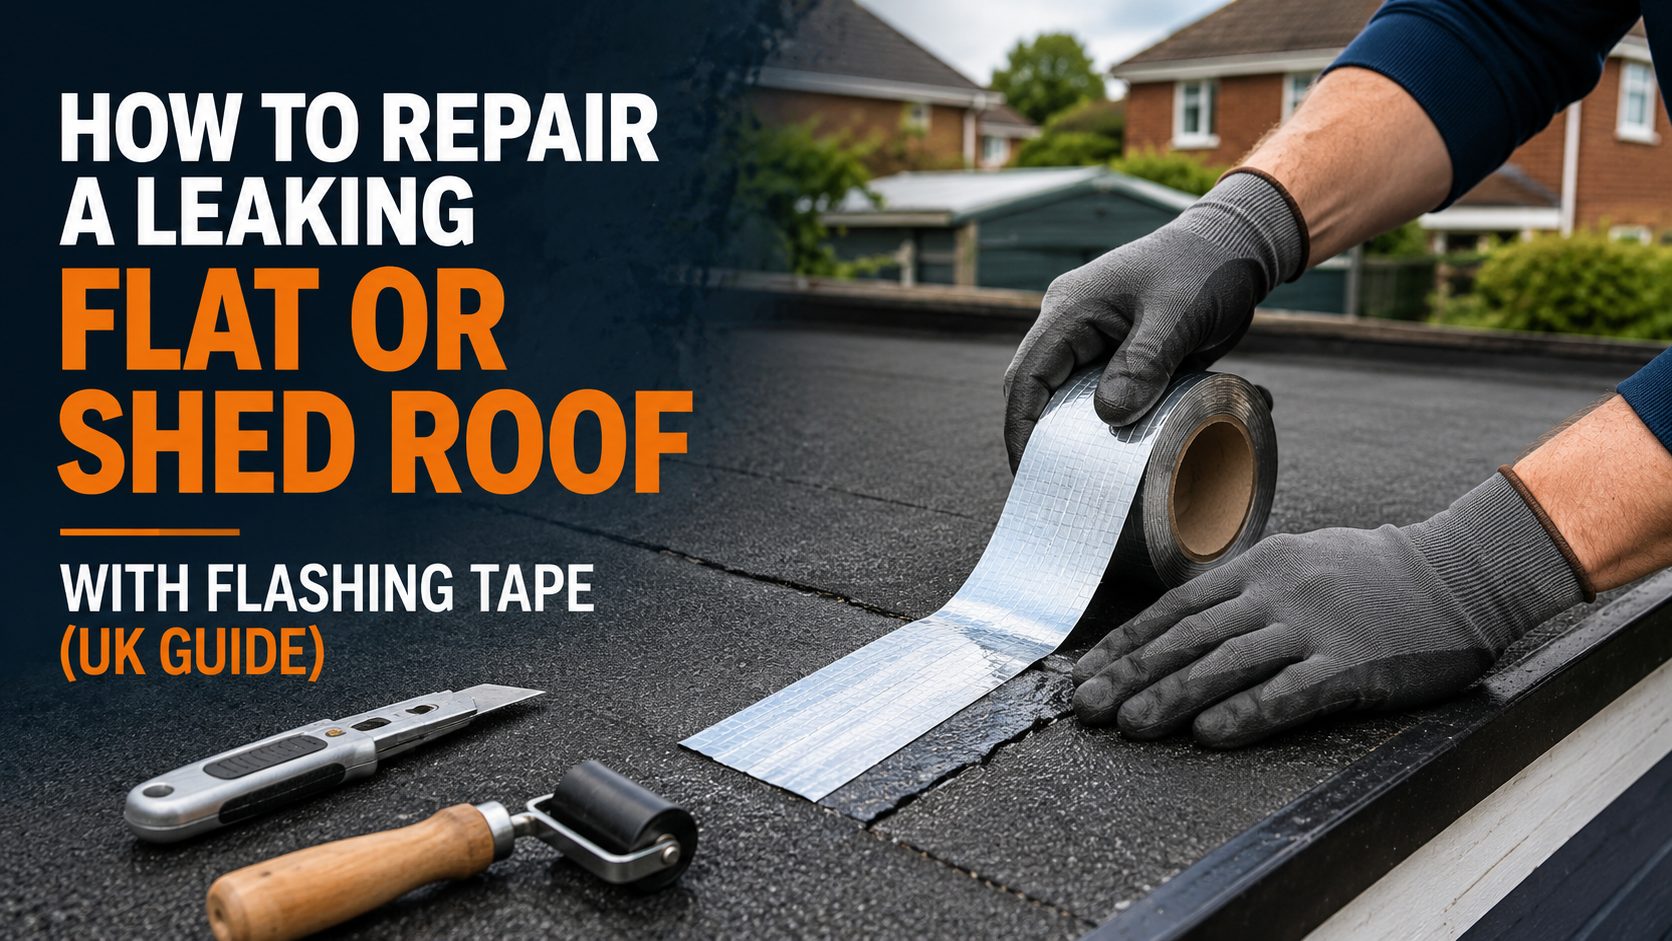
How to Repair a Leaking Flat or Shed Roof with Flashing Tape (UK Guide)
A damp patch on the garage ceiling, a drip landing on the lawnmower, a corner of shed felt lifting in the wind — flat and shed roofs take a beating from the British weather, and they almost always fail at the same handful of places: the joints, the seams, the edges and the flashing. The good news is that most of these leaks don’t need a roofer or a full re-cover. A roll of quality butyl flashing tape, applied on a dry summer’s day, will seal the fault properly and buy you years.
Summer is the moment to do it. Flashing tape needs a dry, warm surface to bond, so a settled spell now is worth far more than an emergency patch in November when the rain is already coming in. This guide covers finding the leak, choosing the right tape and width, and applying it so the repair actually lasts.
Why flat and shed roofs leak
Flat roofs don’t fail across the middle — they fail at the details. The usual suspects, roughly in order:
- Seams and overlaps where two sheets of felt, EPDM or metal meet. Old adhesive dries out, the lap lifts, and water tracks straight in.
- Flashing joints where the roof meets a wall, a chimney, a parapet or an upstand. Cracked mortar or perished flashing here is one of the most common causes of all.
- Around penetrations — soil vents, flues, roof lights, aerial fixings — where the original seal has hardened and split.
- Nail and fixing heads, especially on shed felt, where each one is a tiny hole waiting to leak.
- Edges, drip trims and gutter joints, where wind gets under a lifted edge and starts peeling.
- Ponding water, where a slight dip lets water sit for days and work its way through any weak point it can find.
The key thing to remember is that water travels. The stain on the ceiling is rarely directly beneath the hole — water runs along a joist or a sheet before it drips. Always trace the fault above the stain, not just under it.
Find the leak first
Do this properly and the repair is easy. Rush it and you’ll be back up the ladder in a fortnight.
- Inspect on a dry day. Look for cracked, blistered or lifting seams, splits in the felt or membrane, perished flashing at the wall junction, and any fixings that have worked loose.
- Check the whole edge. Lifted edges and failed drip trims cause an enormous number of “mystery” leaks.
- Water-test it. With someone watching inside, run a hose gently over the roof, starting at the lowest point and working slowly upwards. The moment water shows inside, the entry point is at or just above where you’ve reached.
- Look for staining on the underside. Follow any run marks on the joists back uphill to their source.
- Check the gutters too. Blocked or split guttering that overflows against a wall is a classic culprit that looks exactly like a roof leak.
Why butyl flashing tape works so well
Butyl rubber is the workhorse of roof sealing. It stays permanently flexible, is completely waterproof, and grips tenaciously to most roofing substrates. PSA Solutions’ butyl flashing tape is a 1.5mm butyl compound on a tough, puncture-resistant laminated foil backing, and it’s made for precisely this work — flashing off roofs, sealing roof joints, repairing gutters and downpipes, flashing conservatory roofs and sealing T-bars, and use as a flexible roofing sealant generally. It handles a −40°C to +90°C temperature range, so a British winter is no trouble once it’s down, and it’s conformable enough to press into an awkward corner or fold over an edge.
It also has practical advantages over a liquid or a torch-on repair: no naked flame, no mess, no drips, and you can see at a glance whether the seal is intact.
The honest bit: which surfaces it loves, and which need care
Butyl bonds best to clean, sound, non-porous surfaces — metal roofing and cladding, EPDM and rubber membranes, GRP/fibreglass, plastic, glass, conservatory roofs, guttering, and clean timber. On those, a well-prepped repair is excellent.
The one to watch is old bituminous shed felt. Weathered felt is porous, often shedding its mineral grit and slightly crumbly on the surface — and no tape bonds well to a surface that’s coming apart. If your felt is sound, brush it thoroughly clean, let it dry completely and use a surface primer to seal and key the porous face before taping; it makes an enormous difference. If the felt is badly perished, brittle or lifting across the whole roof, be realistic — the sensible fix is to re-felt it rather than tape a roof that’s failing everywhere. Tape is for repairing defined faults, not for resurrecting a roof that’s reached the end of its life.
Which width do you need?
PSA’s butyl flashing tape comes in 100mm, 150mm and 200mm widths, on 10m and 20m rolls. Pick a width that overlaps the fault generously with sound material either side — more contact area means a better seal:
- Nail heads, small splits, narrow seams and gutter joints: 100mm × 20m
- Felt laps, roof seams and roof-light surrounds: 150mm × 10m or 150mm × 20m
- Wall-to-roof flashing, upstands and big splits: 200mm × 10m or 200mm × 20m
Measure the run, add about 10% for overlaps, and if in doubt size up — you can always trim it narrower.
What you’ll need
- Butyl flashing tape in the right width
- Stiff brush and a scraper
- Surface primer for porous surfaces such as felt, timber or concrete
- IPA cleaning wipes or a surface cleaner for the final degrease
- A seam roller (or a rolling pin — anything to apply firm, even pressure)
- Scissors or a sharp knife, and gloves
- A stable ladder, and crawl boards for anything you can’t reach from the edge
Work safely. Never walk on a shed or garage roof that isn’t designed to take your weight — many aren’t, and you’ll turn a small leak into a big one, or worse. Work from a ladder or crawl boards, and don’t do roof work in the wind or wet.
How to repair the leak, step by step
- Pick your weather window. Dry, mild and settled — ideally above 10°C with a dry roof and a dry forecast for the next day. Adhesive needs warmth to grab, and butyl will never bond to a damp surface.
- Clean back to a sound surface. Brush away all moss, grit, dust and debris. Scrape off any old, failed sealant or lifting patches. On felt, remove any loose mineral surface. The surface needs to be sound, not just swept.
- Prime porous surfaces. Felt, timber, concrete and masonry all drink up adhesive — a coat of surface primer seals them and dramatically improves the bond. Let it flash off fully. On metal, GRP and plastic, degrease with IPA instead.
- Cut your lengths. Cut the tape to size, allowing about 25mm overlap where two pieces meet, and round off the corners with scissors — square corners are the first thing wind and water get under.
- Apply from the bottom up. This is important on any sloped or lapped roof: start at the lowest point and work upwards, overlapping each piece over the one below like roof tiles, so water always runs over a joint rather than into it.
- Lay it without stretching. Peel back part of the liner, position the tape centrally over the fault with sound material either side, and lay it down gradually. Don’t stretch it — stretched butyl pulls back and creates weak points.
- Press it home hard. Butyl is pressure-activated. Roll firmly along the entire length, working out every air bubble and wrinkle, then go around the edges again. On a wall junction, conform the tape into the angle and up the vertical face.
- Seal the details. Cover nail and fixing heads, and press the tape well into any corners or upstands.
- Test it. Hose the roof again and check underneath before you pack up.
Repairing the flashing at a wall junction
This is the most common flat-roof leak of all. Rake out and brush away the failed mortar or perished flashing, prime the masonry, then run a wide (150mm or 200mm) strip of butyl tape so it sits partly on the roof surface and partly up the wall, forming a continuous waterproof angle. Press it firmly into the corner and roll the whole surface. Where the tape meets the brickwork, make sure the top edge is fully bonded and consider tucking or sealing it into a mortar joint so water can’t get behind it.
Keeping the roof leak-free
- Clear it twice a year. Moss, leaves and debris hold water on the surface and block outlets — a five-minute sweep prevents most problems.
- Keep gutters and outlets running. Ponding water finds every weakness.
- Inspect the seams and edges each spring and autumn and re-seal anything lifting before it lets water in.
- Fix small faults early. Once water gets into the deck below, you’re into timber repairs rather than a roll of tape.
Frequently asked questions
Can you repair a flat roof with flashing tape? Yes — for defined faults like split seams, failed flashing at a wall, gaps around vents and roof lights, lifted edges and small splits, a properly applied butyl flashing tape gives a durable, waterproof repair. What tape can’t do is rescue a membrane that’s perished across the whole roof; that needs re-covering.
Will butyl tape stick to shed felt? It can, but felt is porous and often gritty, so preparation is critical: brush it back to a sound, clean, dry surface and use a surface primer first. If the felt is brittle or breaking up, re-felt the roof rather than tape it.
Can I apply flashing tape in the rain or in winter? No — the surface must be dry and ideally above about 10°C for the adhesive to bond. That’s exactly why summer is the right time to do the job. Once cured, the tape performs from −40°C to +90°C.
How long does a flashing tape repair last? With a properly cleaned, primed and firmly rolled application, expect years of watertight service. Check it as part of your seasonal roof inspection.
Which width should I use for a wall flashing? Go wide — 150mm or 200mm — so the tape sits well onto both the roof and the wall face and forms a continuous seal around the angle.
Do I need to overlap the pieces? Yes. Overlap each piece by around 25mm and always work from the bottom of the roof upwards, so each strip laps over the one below and water runs over the joint, not into it.



Add comment