
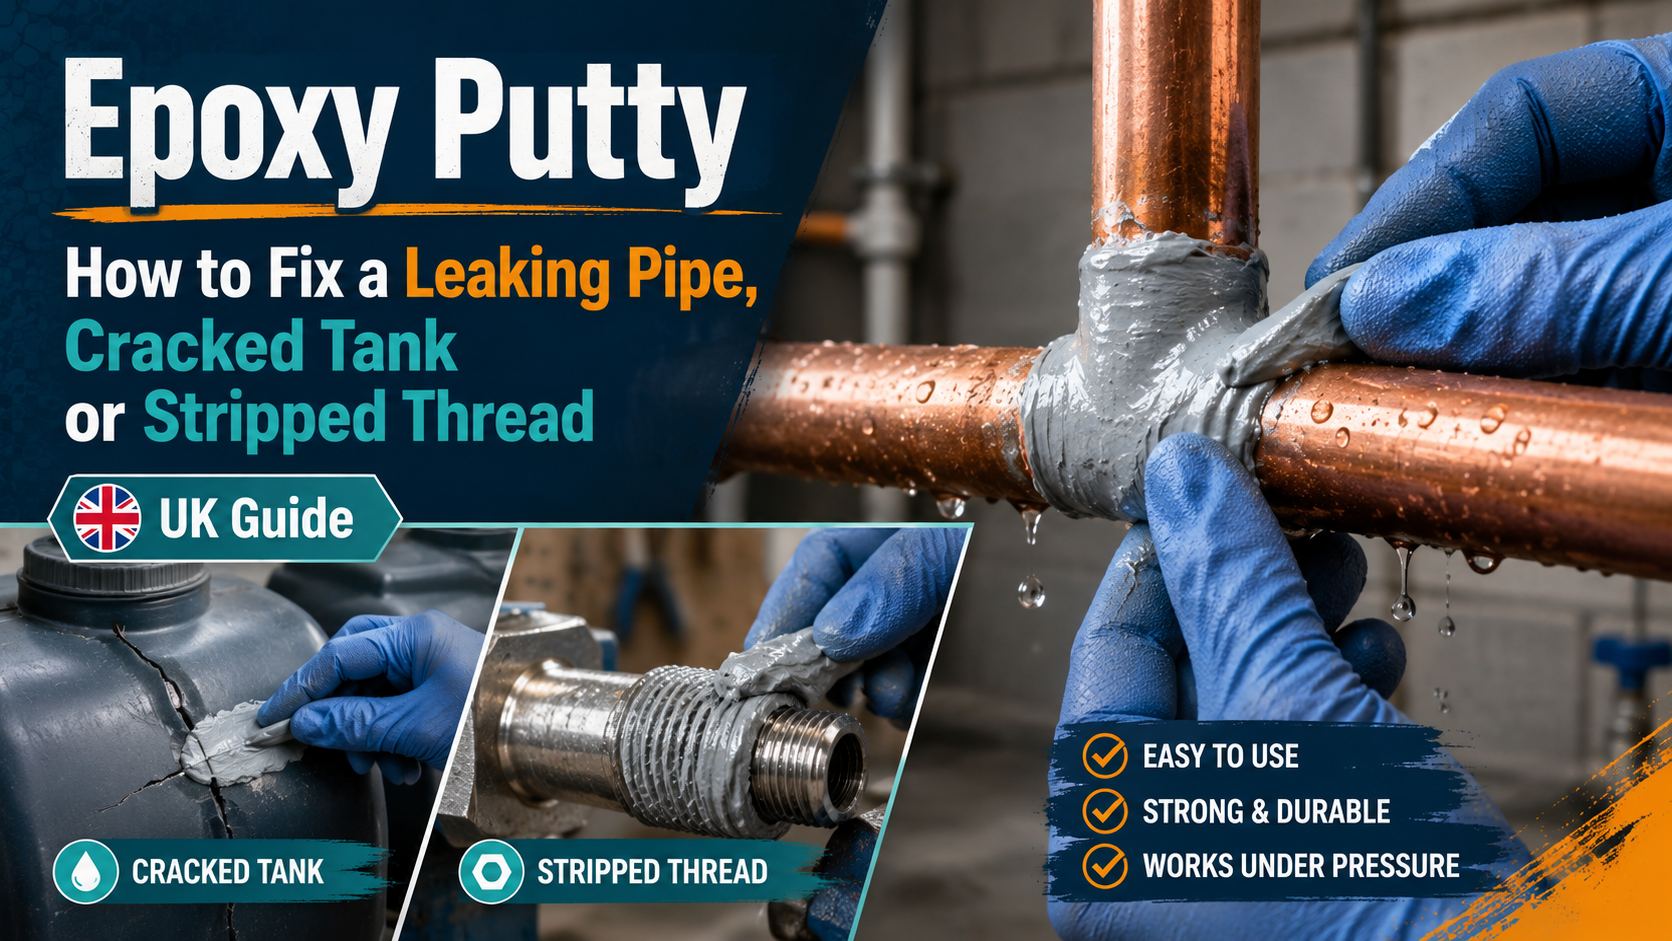
A pipe weeping under the kitchen sink, a hairline split in a water tank, a bolt hole that’s stripped and won’t bite — these are the small emergencies that always seem to happen on a Sunday when you can’t get a plumber. The good news is that you often don’t need one. A stick of epoxy putty, kneaded together in your hands and pressed over the fault, sets rock-hard in minutes and makes a repair you can drill, sand and paint. It’s one of the most useful things you can keep in a drawer.
This guide explains how epoxy putty works, which type to reach for depending on the material and the job, how to apply it so it genuinely holds — and, just as importantly, when to stop and call a professional.
What is epoxy putty and how does it work?
Epoxy putty comes as a stick with two parts: an outer sheath of resin wrapped around an inner core of hardener, each a contrasting colour. You simply twist or cut off the amount you need and knead it in your fingers until the two colours blend into one even shade — that’s the chemical reaction starting. Because it cures by reaction rather than by drying out, the right putty will even set on a damp surface or underwater.
Once mixed you have a short working window — usually around two minutes — to press it firmly into place. It behaves like modelling clay, so it fills holes, cracks and gouges without dripping or running, then hardens to something close to metal or stone. After it’s fully cured it can be drilled, tapped, filed, sanded and painted, and quality sticks won’t yellow in sunlight. It’s worth remembering that epoxy putty works best as a filler and patch — replacing material that’s cracked, worn or gouged away — rather than as a thin glue.
Before you start: safety and the golden rules
A few things make the difference between a repair that lasts and one that fails — and one or two are genuine safety points:
- Turn off the water and release the pressure first. You can’t patch a pipe that’s still spraying under mains pressure. Shut off the stopcock, drain the section and dry it (or choose a putty made for wet surfaces — see below).
- Never use epoxy putty on a gas pipe. Gas work is illegal to DIY in the UK — always call a Gas Safe registered engineer.
- For drinking-water pipes, check the specific product is suitable for potable water, or treat the repair as a temporary fix and get a plumber to confirm it.
- Wear gloves. Uncured epoxy can irritate skin and eyes, and you should keep it away from food and utensils. Once fully cured it’s considered non-toxic.
- Prep is everything. Clean and degrease the area, then roughen it with sandpaper or an abrasive pad so the putty has a keyed surface to grip. Build the repair with defined edges rather than feathering it out to nothing — epoxy holds best when it’s “locked up” over a solid edge.
Which epoxy putty stick for which job
Speciality sticks dramatically outperform a generic one on their target material, so matching the putty to the job is the single biggest factor in a strong repair. PSA’s Bondloc epoxy putty range covers the main ones:
- Copper, brass or bronze water pipes — the classic British plumbing leak — call for the Copper-Reinforced stick. It’s made specifically for pipes, tanks and vessels in copper and other non-ferrous metals, cures to look and feel like metal, and household hot-water pipes can be back in service in around an hour.
- Wet or damp surfaces you can’t fully dry, plus tanks, gutters, pools and hot tubs — use the Aqua underwater stick (also in a larger 114g size). It bonds to damp, wet and underwater surfaces, is solvent- and VOC-free, non-flammable, and won’t shrink or pull away as it cures.
- Steel and iron pipe, general metalwork, stripped threads and multi-material repairs — reach for the Steel-Reinforced stick. It bonds to metal, wood, concrete, glass and fibreglass, and because it can be drilled and tapped once cured, it’s the one for rebuilding a stripped thread.
- Plastic pipe or a plastic tank — the Plastic stick is formulated for permanent repairs to most plastics.
- Aluminium — the Aluminium stick patches dents, holes and gouges in aluminium.
How to fix a leaking pipe with epoxy putty
- Isolate and drain. Turn off the water at the stopcock (or the isolation valve for that fitting), open a tap to release the pressure, and let the pipe drain. Dry the area with a cloth. If you can’t get it bone-dry, use the Aqua stick, which is happy on a damp surface.
- Clean and key the surface. Degrease around the leak — an IPA cleaning wipe is ideal — then rub the area with sandpaper so it’s slightly rough and, on copper, back to bright metal.
- Mix the putty. Cut off enough to cover the leak plus a generous margin all round. Knead it for 30–60 seconds until it’s one uniform colour with no streaks.
- Apply it fast. Within about two minutes, press the putty firmly onto and right around the pipe, wrapping it fully around the circumference and extending well past the leak on both sides. Work it into the surface, then smooth it with a wet finger.
- Let it cure. It’ll harden within minutes; leave it before restoring pressure — most repairs are back in service in about an hour, reaching full strength over 24 hours. Cold slows curing, so warm the area gently in winter.
- Test. Turn the water back on slowly and watch the repair for any weeping before you tidy up.
How to fix a cracked tank
Drain the tank below the level of the crack and dry (or choose the Aqua stick for a water tank). Clean and sand the area, then knead and press the putty firmly into and over the crack, overlapping onto sound material by a good margin all around so the repair is anchored, not just skimmed on. Match the stick to the tank material — plastic putty for a plastic tank, steel or aqua for metal and water tanks. Let it cure fully before refilling, then check for seepage.
How to rebuild a stripped thread or hole
This is where the steel putty earns its keep. Degrease the stripped thread or worn bolt hole and pack the mixed putty firmly in and around it. For a threaded hole, one neat trick is to coat the matching bolt or screw with a release agent (a smear of grease or a wrap of tape), set it into the putty to form the thread, and withdraw it once cured. Alternatively, fill the hole solid, let it cure fully, then drill and tap a fresh, clean thread — something only possible because cured epoxy machines like metal.
Getting a repair that lasts
Whatever the job, the same handful of things decide whether it holds:
- Match the stick to the material — the right speciality putty is far stronger than a generic one.
- Clean, degrease and roughen the surface first.
- Knead until the colour is completely uniform — streaks mean it’s under-mixed and won’t cure properly.
- Don’t feather the edges — build the repair over a defined edge so it’s locked in place.
- Press hard and give it time — let it reach full cure before loading or pressurising, and warm the area in cold weather.
When to call a plumber
Epoxy putty is a brilliant emergency and often long-term repair, but it isn’t right for everything. Call a professional for anything on a gas pipe (never DIY), for high-pressure mains where a failed patch could flood the property, for badly corroded or ageing pipework where the whole run is on its way out, and for hidden or buried leaks you can’t properly access and prepare. Used within its limits, though, a stick of the right putty will get you out of trouble fast and often for good.
Frequently asked questions
Can epoxy putty fix a leaking water pipe permanently? For many domestic leaks, yes — with the surface properly cleaned, keyed and the right stick used, it makes a durable, metal-hard repair. On high-pressure mains or badly corroded pipe, treat it as a reliable emergency fix and have a plumber assess the pipework. Always isolate the water and release the pressure first.
Can you apply epoxy putty to a wet or actively leaking pipe? Yes, if you use the Aqua underwater stick, which is designed to bond on damp, wet and submerged surfaces. Even so, shutting off the supply and relieving the pressure gives the strongest result.
How long does epoxy putty take to set? Most sticks harden within about ten minutes, are back in service in roughly an hour, and reach full strength over 24 hours. Lower temperatures slow the cure, so warm the repair area in cold conditions.
Can you use epoxy putty on copper pipes? Yes — use a copper-reinforced stick, which is formulated specifically for copper, brass and bronze pipes and vessels and cures to a metal-like finish.
Is epoxy putty safe for drinking water? Check the individual product’s suitability or potable-water approval before using it on a drinking-water line, and keep uncured putty away from food. If you’re unsure, use it as a temporary fix and confirm with a plumber or the supplier.
Can you drill or tap epoxy putty? Once fully cured, yes — it drills, taps, files and sands like metal, which is exactly how you rebuild a stripped thread or a worn fixing hole.
PSA Solutions are epoxy putty and repair adhesive suppliers based in Leicestershire, with the full Bondloc range in stock and usually dispatched within 2–3 working days. Not sure which stick suits your repair? Contact the team for free advice on the right putty for the material and the job, and visit the Adhesive Advice Centre for more practical how-to guides.



Add comment