
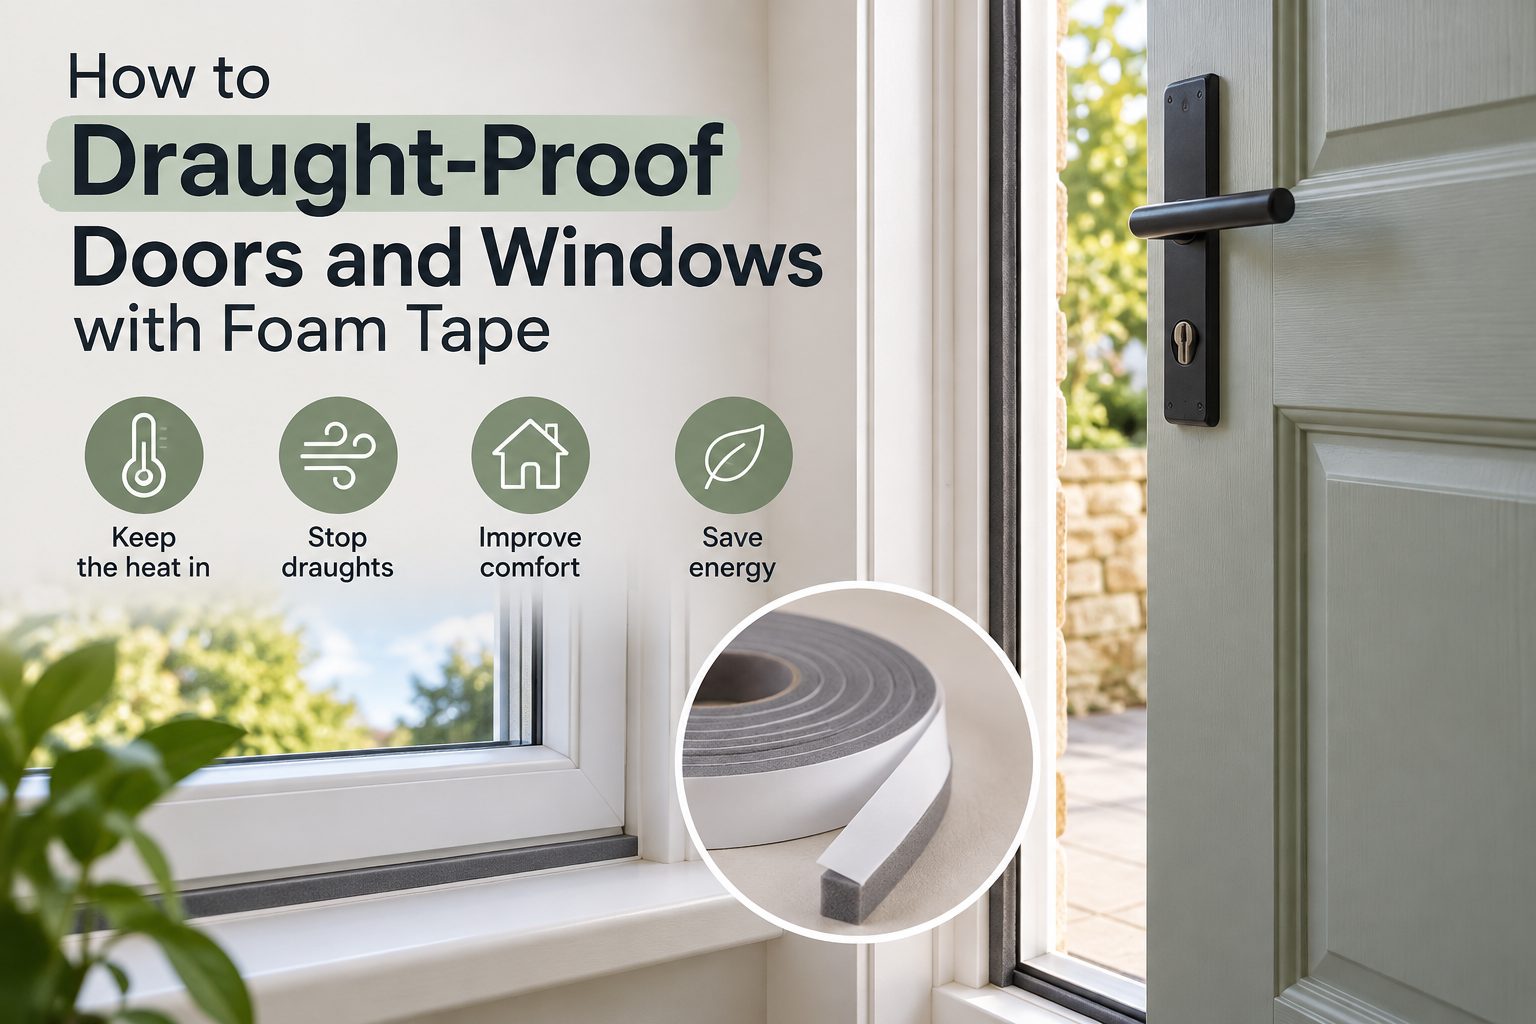
How to Draught-Proof Doors and Windows with Foam Tape (UK Guide)
Draught-proofing is the cheapest way there is to make your home warmer and cut your heating bills. Gaps around doors and windows let the expensive warm air you’ve paid to heat leak straight out, while cold air whistles in at ankle height — and sealing them with a few pounds’ worth of foam tape is a job almost anyone can finish in an afternoon.
The trick is using the right tape for each gap and fitting it so your doors and windows still close properly. This guide walks you through finding the draughts, choosing and applying the foam tape, where to seal around the home, and — just as importantly — the vents you must leave well alone.
Why it’s worth doing
Draughts account for a surprising amount of a home’s heat loss, and unlike most energy-saving measures, draught-proofing costs very little and pays for itself quickly. Beyond the bills, it makes rooms feel noticeably more comfortable — no more cold spots by the front door or that chilly draught across the floor.
There’s one balance to strike, which we’ll come back to: you want to seal the unwanted draughts while keeping the deliberate ventilation a home needs to stay healthy. Get that right and it’s all upside.
First, find the draughts
On a cold, windy day, work around each door and window feeling for moving air. A damp hand is more sensitive than a dry one, and holding a lit incense stick or a candle near the edges makes draughts obvious — the smoke or flame wavers where air is getting through. Common culprits:
- The sides and top of doors, where they meet the frame, and the gap underneath.
- Window frames, where the opening casement meets the frame.
- Sash windows at the sides, and along the meeting rail where the two sashes overlap.
- Letterboxes and keyholes.
- The loft hatch, skirting boards and gaps between floorboards.
Mark the worst offenders and start there.
The two gaps, and the two tapes
Almost every draught around a door or window falls into one of two types, and each needs a different product — this is the bit most people get wrong.
The moving closing gap is where the door or window itself shuts against its frame. It has to seal when closed but still open freely, so it needs a compressible foam. A single-sided EPDM weatherseal foam tape is ideal: it’s a durable sponge-rubber strip that squashes down to seal the gap when the door or window is shut, then springs back when you open it. EPDM handles weather, cold and years of opening and closing far better than cheap PU foam strips, which is why it’s the one to use — especially on external doors and windows. The wider single-sided foam range covers larger or more uneven gaps.
The fixed perimeter gap is where the window or door frame meets the surrounding wall — a permanent gap you simply want to fill. Here you use an expanding foam tape, which expands to fill gaps up to 50mm and forms a permanent weather seal around the frame. The 4–10mm size suits most frame gaps.
The golden rule: never put expanding foam tape in the closing gap of a door or window — it stays permanently compressed and will stop the door shutting. Expanding foam for the frame perimeter; compressible weatherseal foam for anything that opens and closes. (The gap under a door is a third case, best handled with a brush or threshold strip rather than tape.)
Choosing the right thickness
Foam draught strip works only if it’s the right thickness for the gap. Too thin and it won’t touch when the door closes, so it seals nothing; too thick and the door won’t shut or lock. So before you buy, measure the gap between the door or window and its frame when closed, and choose a foam that will compress to fill it while still letting everything close and latch normally. If in doubt, it’s better to start slightly thinner and check the door still shuts easily.
How to fit foam tape, step by step
- Pick a dry, mild day. Foam tape’s adhesive bonds poorly in the cold or on a damp surface, so work in the warm.
- Clean and degrease. Wipe the frame with an IPA cleaning wipe to remove dust, grease and old residue, and let it dry. This is the single biggest factor in whether the tape stays put.
- Measure and cut the tape to the length of each side.
- Apply it to the frame, not the moving edge. Stick the foam onto the fixed part of the frame — the door stop or the window rebate that the door or casement closes against — rather than onto the door or sash itself. It’s tidier and lasts longer.
- Press it down firmly, and cut neat lengths at the corners rather than bending one strip tightly around them.
- Test it. Close the door or window and check it still shuts and locks properly against the compressed foam. If it’s too tight to lock, switch to a thinner tape.
Where to draught-proof around the home
- External doors: seal the sides and top with weatherseal foam on the frame stop. Fit a brush or threshold strip along the bottom, add a letterbox flap or brush, and a cover disc over the keyhole.
- Internal doors to unheated or unused rooms: foam-strip the frame and add a simple under-door excluder to stop heat draining into cold spaces.
- Casement windows: apply foam to the frame rebate where the opening casement closes against it.
- Sash windows: these are trickier, with draughts down the sides and along the meeting rail. Foam and brush-pile strips both work — and take extra care on historic, painted sash windows not to damage original joinery or paintwork.
- Loft hatch: a big source of heat loss and easily sealed with weatherseal foam (see our separate guide to insulating loft hatches, pipes and draughty gaps in the Adhesive Advice Centre).
- Letterboxes, keyholes and cat flaps are small but persistent draughts worth blocking with a flap, cover or brush.
Don’t seal these — the ventilation and safety rules
This is the one part of draught-proofing you must get right. A home needs a certain amount of ventilation to stay healthy and safe, so leave these clear:
- Trickle vents on window frames.
- Air bricks and wall vents.
- Extractor fans in kitchens and bathrooms.
- Any vent, air brick or air supply serving an open-flue gas boiler, gas fire, wood burner or other fuel-burning appliance.
Sealing these is not a saving — it’s a hazard. Blocking the air supply to a fuel-burning appliance can cause a dangerous build-up of carbon monoxide, and over-sealing a home generally traps moisture, leading to condensation, damp and mould. The aim is to stop the draughts you don’t want while keeping the background ventilation you do. If you have any open-flue or solid-fuel appliance, don’t reduce its ventilation, and fit a carbon monoxide alarm if you haven’t already.
Tips for a seal that lasts
- Work on a clean, dry surface on a mild day.
- Match the foam thickness to the gap so everything still closes and locks.
- Press the tape down firmly along its whole length.
- Check foam strips each autumn and replace any that have compressed flat or come loose — they’re cheap and quick to renew.
Frequently asked questions
What’s the best foam tape for draught-proofing? A durable EPDM sponge-rubber weatherseal foam is the best choice, especially on external doors and windows, because it seals well and stands up to weather and years of use. Measure the gap first so you pick a thickness that seals when closed but still lets the door shut and lock.
Do I put the foam tape on the door or the frame? On the fixed frame — the door stop or window rebate that the door or casement closes against — not on the moving edge. It’s neater and the tape lasts longer there.
Will foam tape stop my door closing? Only if it’s too thick for the gap. Measure the gap when the door is shut and choose a foam that compresses to fill it while still allowing the door to close and lock. If it’s too tight, switch to a thinner strip.
How do I draught-proof under a door? Use a brush strip or a threshold seal along the bottom rather than foam tape — the under-door gap needs a product designed to bridge a larger, moving gap while still letting the door swing.
Can I draught-proof sash windows? Yes — seal the sides and the meeting rail with foam or brush-pile strips. On historic painted sash windows, take care not to damage the original joinery or paint, and consider specialist sash draught-proofing if the windows are valuable.
Should I seal every gap in the house? No. Leave trickle vents, air bricks, extractor fans and any vents serving gas or solid-fuel appliances completely clear — they’re there for a reason. Draught-proofing is about removing unwanted draughts, not sealing the house airtight.
PSA Solutions are weatherseal and foam tape suppliers based in Leicestershire, with EPDM weatherseal, single-sided foam and expanding foam tapes in stock and usually dispatched within 2–3 working days. Not sure which foam suits which gap? Contact the team for free advice, and visit the Adhesive Advice Centre for more practical how-to guides.



Add comment