
How to Replace Worn Number Plate Pads and Re-Stick Trim That’s Lifting in Hot Weather
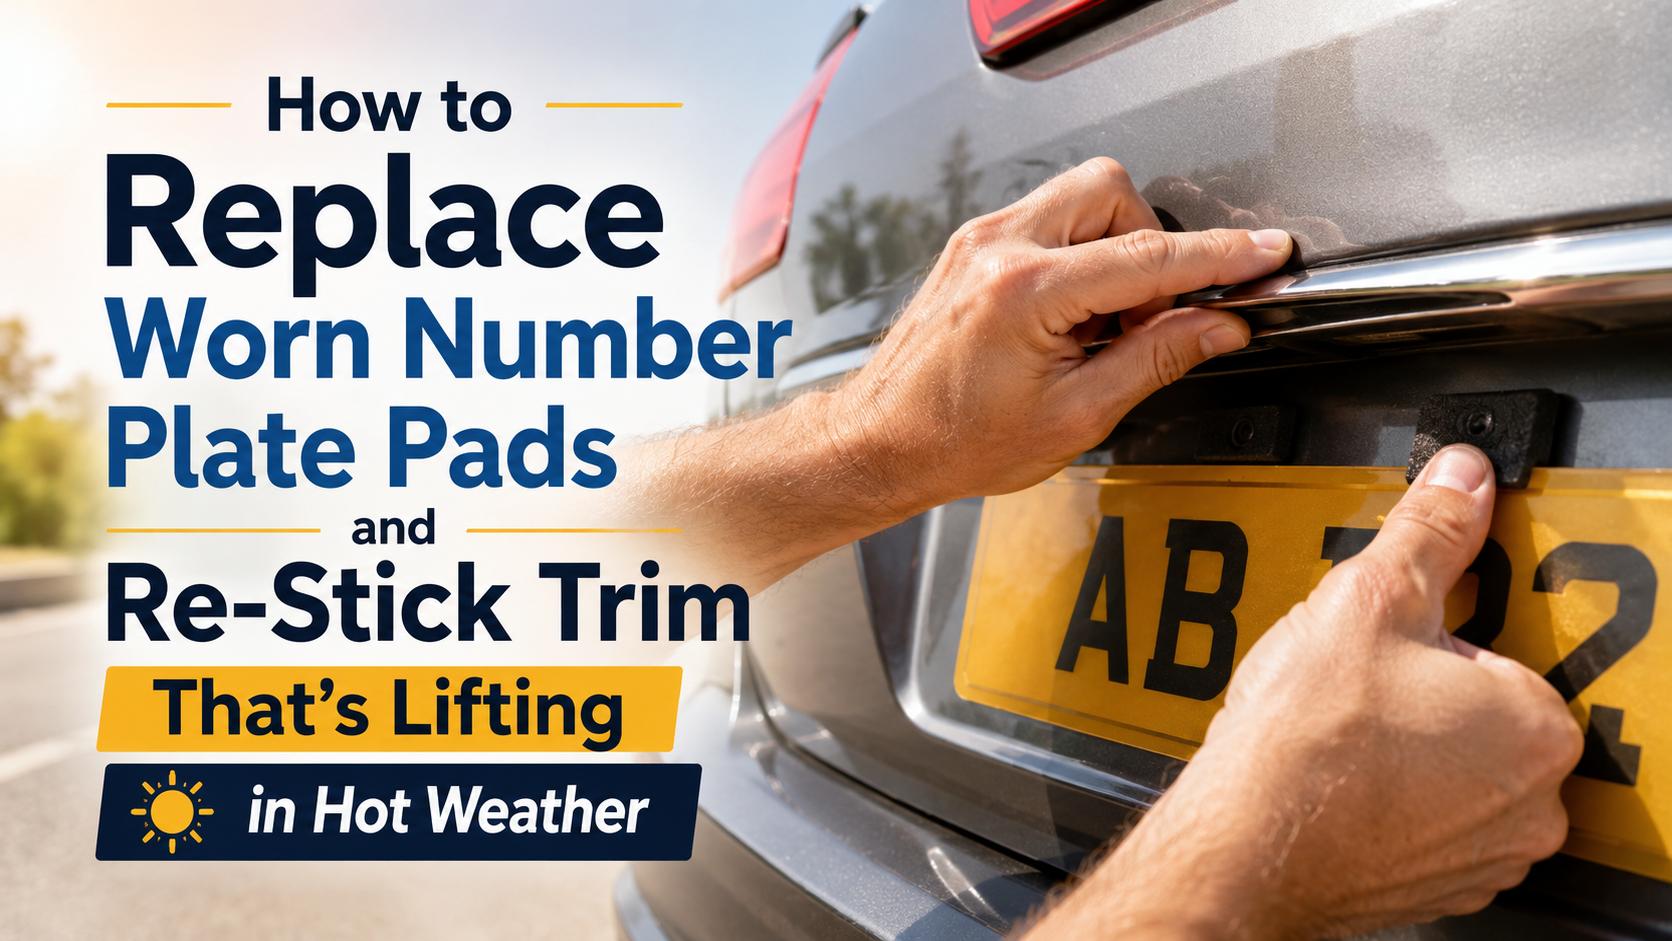
You walk out to the car on a hot summer’s day and something’s not right: the number plate is drooping at one corner, or a side moulding has peeled away and is flapping in the breeze. It’s one of the most common warm-weather gripes on British driveways, and the cause is almost always the same — heat. High temperatures soften tired adhesive, dark plastic trim and plates bake in the sun, and the constant expand-and-contract cycle slowly works the edges loose until something lets go.
Here’s the good news, and the slightly surprising part: that same summer warmth makes this the ideal time to fix the problem properly. Modern adhesive tapes reach their grip and full bond strength far faster on a warm, dry day than in the cold and damp. Get the prep right, choose the correct tape, and a plate or piece of trim you re-stick this weekend will stay put for years. This guide covers both jobs, step by step.
Why heat makes plates and trim let go
Most number plates and exterior trim are held on with double-sided adhesive — and adhesives have a working temperature range. When a black bumper or plate sits in direct July sun, the surface can easily exceed 50°C. At those temperatures, a cheap or poorly-applied adhesive goes soft and starts to creep, while the plastic itself expands. The edges lift first, wind and car washes catch them, and the bond peels back from there.
Two things make it far worse: generic “household” foam pads that were never designed for the temperature swings a car sees, and poor surface prep at the original fitting. If a plate was stuck over wax, polish, road grime or old adhesive residue, it was always going to fail — heat just brings the moment forward. The fix for both is to strip everything back to clean paint and re-do the job with proper automotive-grade tape.
Part 1: Replacing worn number plate pads
What you’ll need
- Automotive-grade double-sided foam tape or pads (see below)
- IPA cleaning wipes or a surface cleaner for degreasing
- A plastic trim tool or scraper (never a metal blade — it’ll scratch the paint)
- Dental floss or fishing line to cut the old bond
- Masking tape to mark the position
- An adhesive remover for stubborn residue
- Disposable gloves
Step 1: Remove the old plate
Warm the plate gently first — a hairdryer or heat gun on a low setting, or simply leaving the car in the sun, softens the old adhesive so it releases cleanly. Work a length of dental floss or fishing line behind the plate and “saw” it from side to side to cut through the pads, then ease the plate away slowly. Take your time near the paintwork.
Step 2: Remove every trace of old residue
This is the step that makes or breaks the repair. Peel away the leftover foam with the plastic trim tool, then soften and lift any remaining adhesive with an adhesive remover. The bumper needs to be completely smooth — any old residue left behind stops the new tape bonding and is the number-one reason plates that are “re-stuck” simply fall off again.
Step 3: Clean and degrease
Wipe the whole area down with IPA or a dedicated surface cleaner and let it flash off. Don’t wax or polish under the plate — a clean, bare, grease-free surface is exactly what the adhesive needs to grip. Do the same to the back of the plate.
Step 4: Apply fresh automotive tape or pads
Use proper automotive-grade adhesive, not bargain household pads. PSA’s automotive double-sided foam tape is purpose-made for exactly this — a closed-cell polyethylene foam tape designed for the automotive aftercare market and ideal for mounting number plates, badges and trim. Cut several strips and space them around the back of the plate, including close to each corner so the edges can’t lift. On ribbed or slightly curved bumpers, a thicker foam double-sided pad helps bridge any unevenness between plate and bumper.
Step 5: Position it straight, press hard, let it cure
Wonky plates aren’t just an eyesore — an insecure or hard-to-read number plate can mean an MOT failure and a fine of up to £1,000, so alignment matters. Stick a strip of masking tape along the bumper as a guide so you can line the plate up level and press it on in one go. Once it’s positioned, press firmly across the whole plate for around 30 seconds — the harder you press, the stronger the bond. Then leave it to cure and steer clear of jet washes and automatic car washes for a day or two while it reaches full strength.
Part 2: Re-sticking trim, mouldings, chrome strips and badges
Side mouldings, chrome strips, rubbing strips and badges lift for the same reason plates do: the original tape’s adhesive softens in the heat and the trim expands, so an edge peels and then the airflow at speed does the rest. The fix is to remove the trim, strip it right back and re-bond it with a tape built to hold under heat.
Choosing the right tape
- Light trim, badges, emblems and decals: the same automotive double-sided foam tape is ideal — its foam conforms nicely to gentle curves.
- Heavier mouldings, chrome strips and body-kit pieces: step up to a high-grab double-sided foam tape or, for the most demanding bonds, a structural acrylic gel tape. These VHB-style acrylic foam tapes offer very high bond strength and excellent heat and weather resistance, and the foam thickness absorbs the small gaps and curves you get on bodywork. Black versions sit invisibly behind dark trim.
Step by step
- Remove the trim fully. Don’t try to tuck new tape under a half-lifted strip — gently warm and peel the whole piece off so you can work on it properly.
- Strip both surfaces. Take all the old tape and adhesive off the back of the trim and the car panel, using heat, a plastic scraper and adhesive remover. Both faces must be bare and smooth.
- Clean with IPA. Degrease the trim and the panel and let them dry.
- Apply tape to the trim. Run the new tape along the back of the trim, keeping it close to the edges, and trim it to follow any curves.
- Warm, position and press. On a warm day (or after gently warming the panel), peel the liner, position carefully, and press the trim down hard along its entire length — really lean into it.
- Hold it while it cures. Use strips of masking tape across the trim to hold it tight to the panel for the first 24 hours, and don’t wash the car until the bond has fully cured.
The golden rules for a bond that survives the summer
Whether it’s a plate or a piece of trim, five things decide whether the repair lasts:
- Strip every trace of old adhesive — new tape only bonds to a clean surface, not to old residue.
- Degrease with IPA and skip the wax and polish underneath.
- Use automotive-grade tape, not generic household pads.
- Apply warm, but not scorching — a warm, dry day is perfect, but avoid sticking onto a panel that’s baking in direct midday sun, as you won’t be able to reposition and the surface can be too hot to bond cleanly. Work in the shade if it’s a scorcher.
- Press hard and let it cure before washing or jet-washing.
When screws are the better option
Adhesive is the cleanest, drill-free way to fit most plates and trim, but it isn’t always right. Very heavy 4D and 5D plates, or bumpers with a deeply ribbed or textured back with no flat area for the tape to grip, are more securely held with proper number-plate screws and caps. If a plate has fallen twice despite good prep, that’s usually the sign to switch to screws.
Frequently asked questions
Why does my number plate keep falling off in hot weather? Heat softens the adhesive, and if the plate was originally stuck over wax, grime or old residue it never bonded well in the first place. Strip the surface back to clean paint, degrease with IPA and re-fit with automotive-grade foam tape.
Can I reuse old number plate pads? No — once removed, pads lose their grip and pick up dust. Always fit fresh tape or pads to a freshly cleaned surface.
What’s the best tape to stick a number plate on? An automotive-grade double-sided foam tape or VHB-style acrylic tape designed for vehicles. Avoid cheap household foam pads, which aren’t built for the temperature swings a car bumper sees.
How do I get old sticky-pad residue off without damaging the paint? Warm the area, lift the bulk with a plastic trim tool, then soften the rest with an adhesive remover and finish with IPA. Never use a metal blade on paintwork.
Why does my car trim keep lifting in summer? The original tape’s adhesive softens in the heat while the trim expands, so the edges peel. Remove the trim, clean both surfaces thoroughly and re-bond with a heat-resistant automotive foam or structural acrylic tape.
How long before I can wash the car? Leave any fresh adhesive repair to cure for 24–48 hours before washing, and avoid high-pressure jet washes aimed at the edges for the first few days.
PSA Solutions are automotive tape and adhesive suppliers based in Leicestershire, with the full range of car and automotive tapes in stock and usually dispatched within 2–3 working days. Contact the team for free advice on the right tape for your plate or trim, and visit the Adhesive Advice Centre for more practical how-to guides.
 2")
 3")
Add comment